The beginner’s guide to Pinterest SEO
Learn the basics of Pinterest SEO to increase your online visibility and drive traffic to your website
ReadLearn how to batch Pinterest Idea Pin-style content in one focused session, repurpose what you already have, and save time every week.
 PinPower TeamWriting about pins, search and slow growth
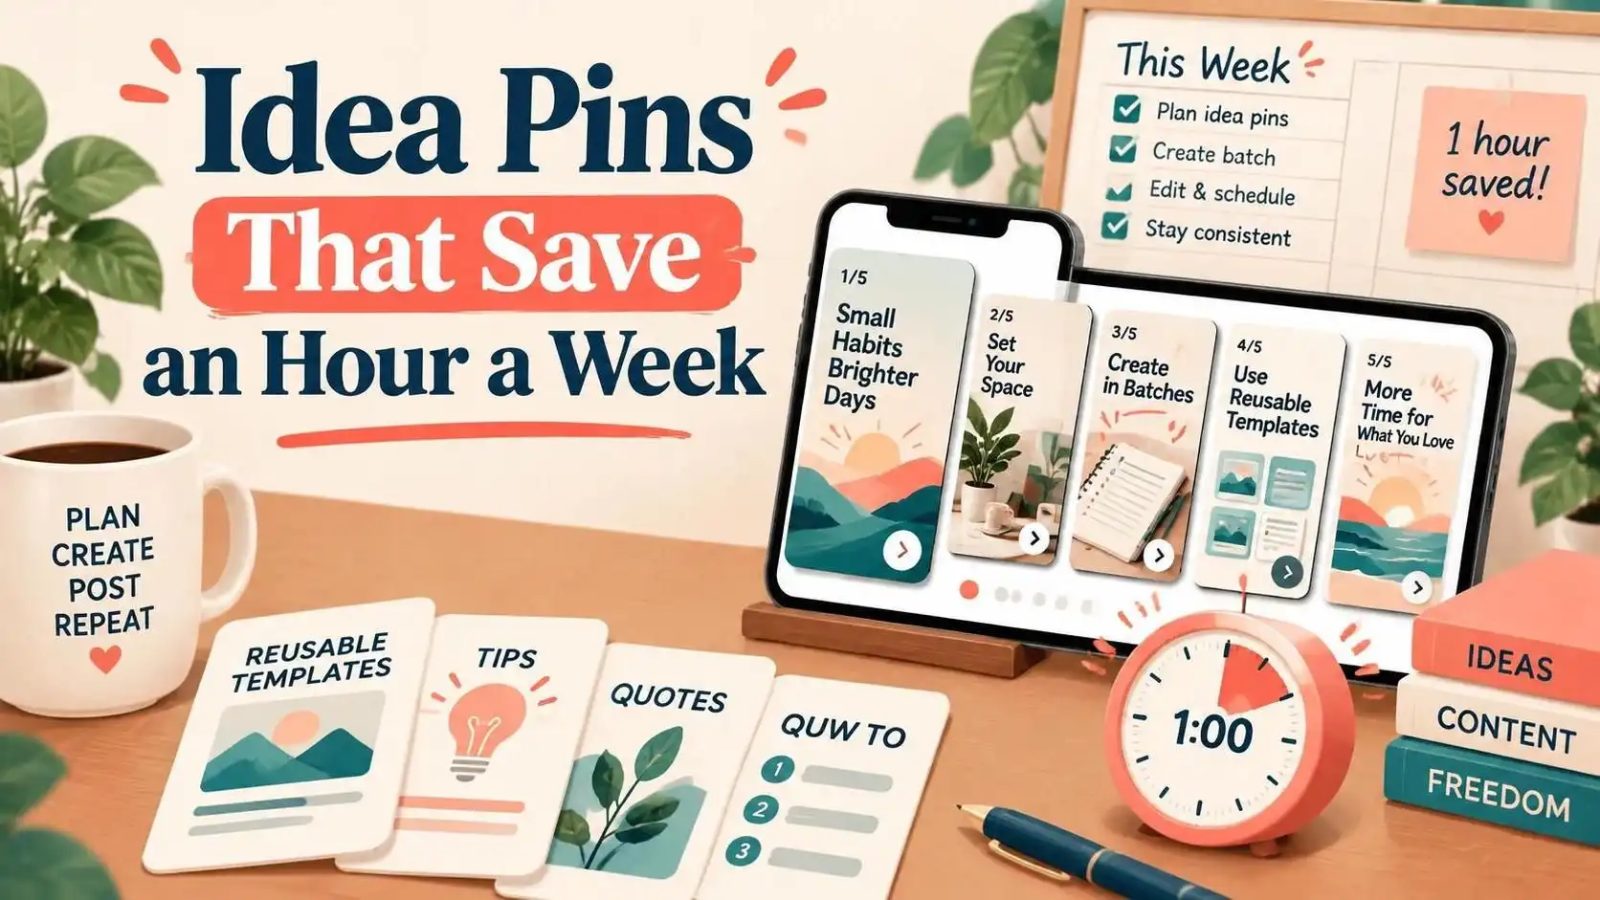
If creating Pinterest content keeps sliding to the bottom of your to-do list, try making fewer decisions each time you sit down to post.
The trick is to plan several pieces of content together, then turn one useful idea into a short, multi-page Pin. You may know this style as an Idea Pin: a sequence of images or video clips that explains a tip, process, or mini-story. Pinterest has since brought many of the features associated with Idea Pins into its general Pin creation flow, so you can make a multi-page Pin and add a link without treating it as a separate format.
This simple batching routine can save about an hour a week once you have your templates and process in place. The goal isn’t to post more for the sake of it—it’s to spend less time starting from scratch.
Making one Pin at a time sounds manageable, but every post requires a string of small decisions: What should it be about? Which images should you use? What should the text say? Which keywords belong in the title and description?
Batching groups those decisions together. You choose a few topics first, create several Pins in one sitting, and schedule them for later. It also makes it easier to repurpose content you’ve already created—such as a blog post, tutorial, recipe, or product guide.
Set aside one focused hour. Use a timer if it helps, and resist polishing every detail.
| Time | Task |
|---|---|
| 10 minutes | Choose three ideas from existing content |
| 10 minutes | Write a quick outline for each Pin |
| 25 minutes | Build the Pins using one or two templates |
| 10 minutes | Add titles, descriptions, links, and relevant boards |
| 5 minutes | Schedule the Pins and note what to review |
Your first session may take longer while you set up templates. After that, reusing the same steps should make the process quicker.
Don’t begin with a blank page. Pick three helpful ideas from a blog post, email, video, or frequently asked customer question.
For example, a single article about indoor plants could become:
Each Pin should offer one clear takeaway. You’re repackaging useful information—not copying the entire article onto slides.
A simple structure keeps writing fast and gives your Pin a satisfying flow:
For a recipe, that could be “A quicker weeknight pasta,” followed by prep steps, a finishing tip, and a link to the full recipe. For a service business, it might be “What to prepare before a design consultation,” followed by a short checklist and a link to the booking page.
A couple of reusable layouts are usually enough to start: one for step-by-step tips and one for lists or checklists. Keep the same fonts, colors, and logo placement, but swap in new images and wording.
Templates save time because you’re not redesigning every Pin. They also help your content look consistent while leaving room for each topic to feel fresh.
Draft the headline and slide copy in a notes app or document before opening your design tool. Keep each slide focused on one point, and use short phrases people can read quickly.
A useful headline tells readers what they’ll get, such as “5 easy ways to organize a small pantry.” Avoid vague titles that sound catchy but don’t explain the Pin’s value.
Pinterest is a visual discovery platform, so clear titles and descriptions help provide context for your content. Use the phrases your audience is likely to search for naturally, rather than squeezing in a list of unrelated keywords. Pinterest’s own guidance also recommends using relevant keywords and saving Pins to boards that fit the topic.
For example, if your Pin is about arranging a small kitchen, relevant phrases might include “small kitchen organization” or “small kitchen storage ideas”—if those accurately describe the content.
A Pin should make sense even if someone sees it without knowing your brand or reading the related blog post. Include enough information to deliver a small win, then use the link for the deeper explanation, printable, or full tutorial.
That balance makes your content more helpful and gives people a clear reason to visit your site.
Once the Pins are ready, add the destination link, title, description, and the most relevant board. Scheduling them in the same session means you don’t need to remember to publish each one later.
Don’t worry about finding a supposedly perfect posting time right away. Start with a steady routine, then use your own analytics to see which Pins earn saves, clicks, or other useful engagement. Audience behavior varies by topic and account.
Whenever a reader asks a question, a post gets strong engagement, or you notice a recurring problem, add it to a running list. When batching day comes, choose from that list instead of trying to invent ideas on demand.
A simple note with three columns—topic, audience question, and source content—is enough.
One blog post can inspire several Pins, but give each one a distinct angle. Change the promise, image, or specific tip so each version feels useful in its own right.
For example, an article about meal planning could become a weekly planning checklist, a grocery-budget tip, and a Pin about using leftovers. Each leads to the same article but speaks to a slightly different need.
Spend five minutes checking what people saved or clicked, then use that information to choose future topics. Look for patterns—such as a particular question or format that keeps getting attention—instead of judging your whole strategy by one Pin.
The point of this review is to make your next batch easier to plan, not to add another lengthy analytics task to your week.
You don’t need a complicated system to create Idea Pin-style content more efficiently. Start with three ideas from work you’ve already done, outline them together, and build them with a reusable template.
The first batch helps you establish your process. After that, a focused weekly session can replace the repeated cycle of “I should make a Pin today”—and give you back time for the work behind the content.
We design and publish pins every week, then write down what actually moved the numbers. More guides in the journal.
Learn the basics of Pinterest SEO to increase your online visibility and drive traffic to your website
ReadMake your pins stand out in a crowded feed with these 10 tips and tricks
ReadFollow Pinterest trends without breaking the bank, learn what to skip and what to prioritize
ReadTurn your ideas into beautiful pins and grow your audience with the power of design. No credit card, no watermark.
PinPower is free for 10 pins a day. Share your link and every friend who joins adds 100 bonus pins to your account — and $5 in cash credit if they go premium.
No card needed. Unsubscribe from the programme any time.